
If you asked me what my all-time favorite dessert is, the answer would
most likely be cheesecake. Cheesecake is not only creamy and delightful
but it can also take on almost any flavor, making the options limitless.
I love every bite of the delectable treat, from chocolate
ganache-topped fluffy sour cream, to the dense, cold cake in the middle,
all the way down to the slightly sweet, slightly salty, always buttery
crust. If we’re being honest, it doesn’t get much better than
cheesecake.
When I spied these Cookies and Cream Cheesecake Bars from Lori of Recipe Girl
, my heart skipped a beat. Actually, it nearly fluttered out of my
chest. Cheesecake in bar form … portable slices I could eat with my
hands … sweet, chocolate crust … sold. Before I knew it, I was dragging
out my stand mixer, finding the bag or Oreos that I knew I saved for a
reason, and cutting my cream cheese into cubes so it could quickly come
to room temperature. If you haven’t noticed, patience isn’t one of my
strong points. It took everything in my being to not devour the entire
pan of these incredible cheesecake slices. Check them out below.
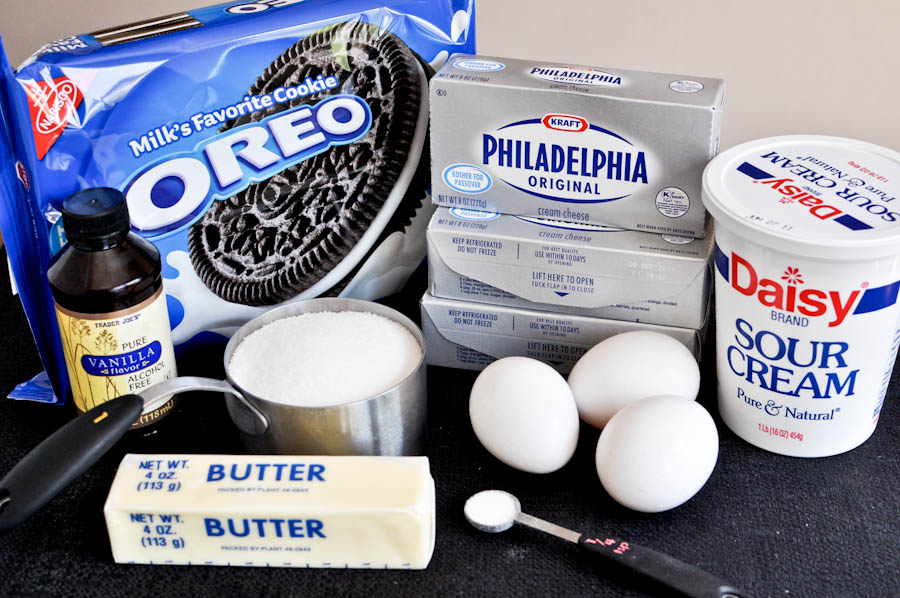
You only need a few ingredients to create these mouth watering bars:
one package of Oreos, three packages of room temperature cream cheese,
sour cream at room temperature, butter, room temperature eggs, sugar,
salt and vanilla extract. Simple and tasty. Let’s get started!
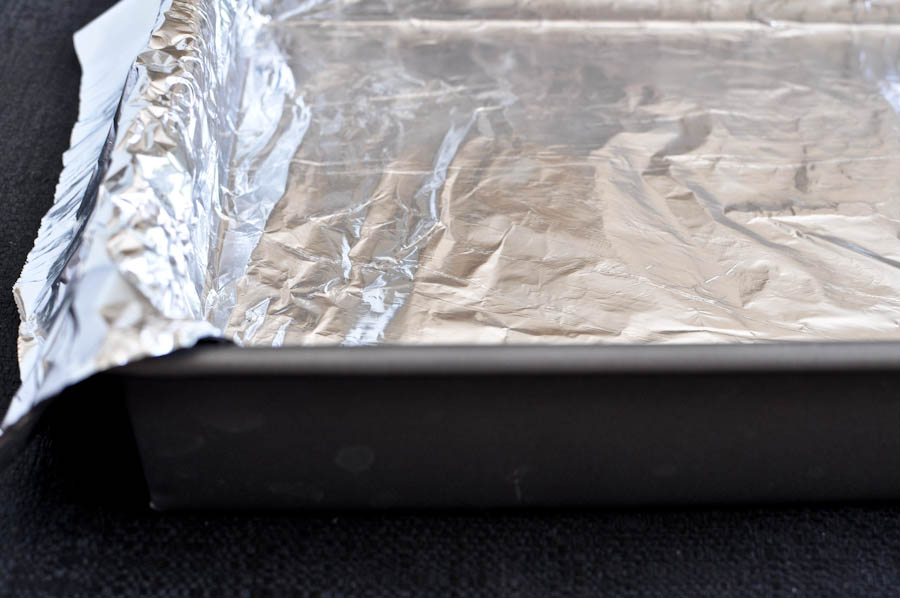
Preheat your oven to 325 degrees F. Line a 9 x 13 pan with aluminum foil and spray with non-stick spray.
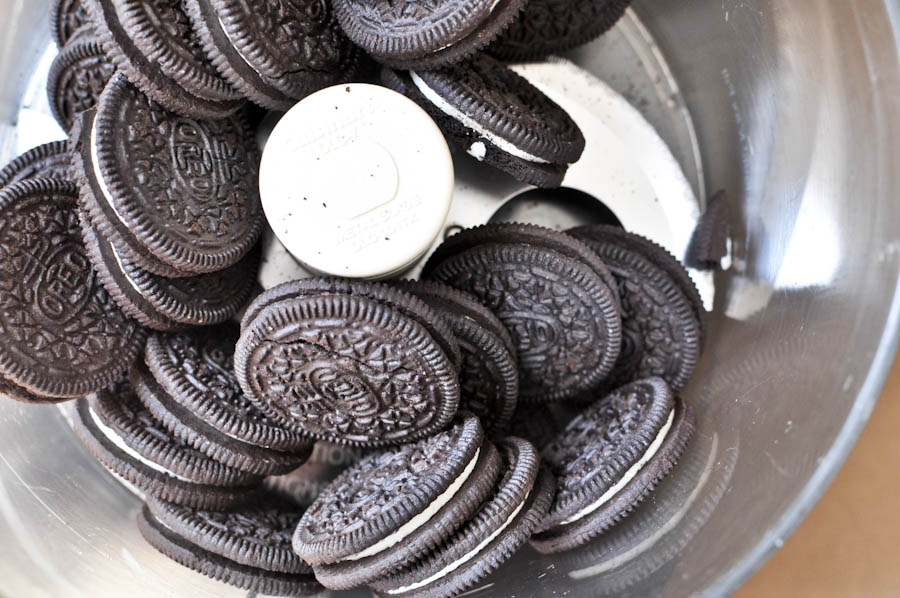
Begin with the crust. Add exactly 28 Oreos to your food processor. This is two sleeves of Oreos.
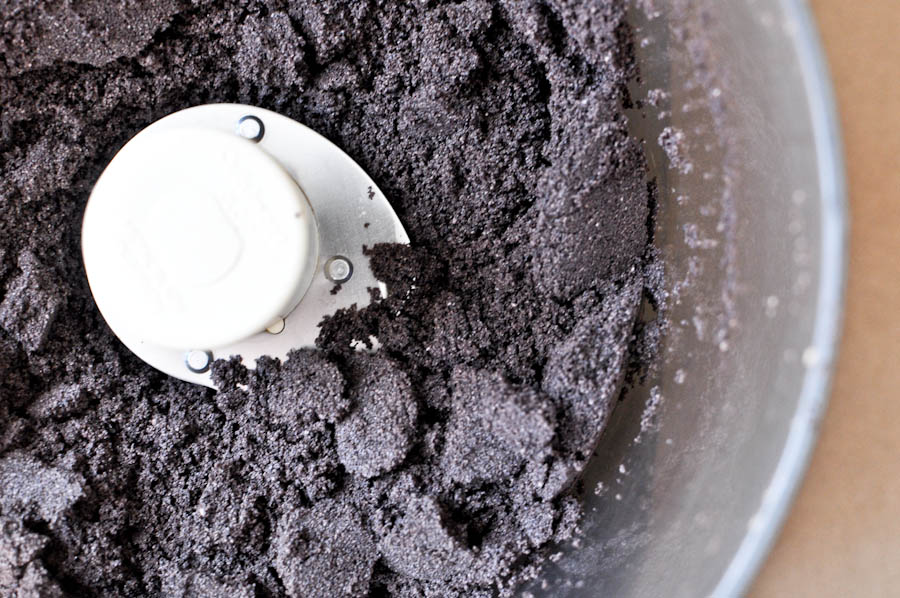
Process until the cookies become fine crumbs.
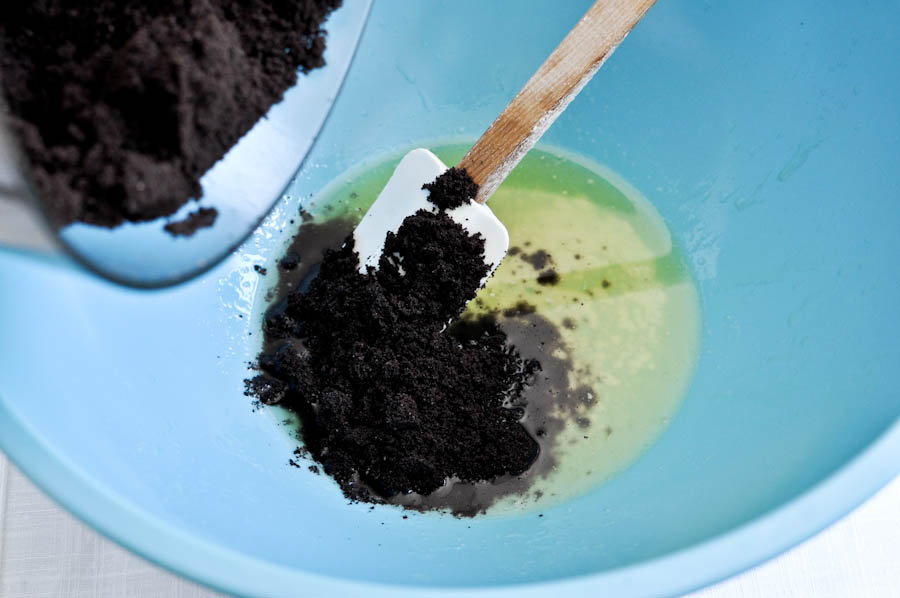
Melt four tablespoons of butter and add it to a large bowl. Pour in
Oreo crumbs and using a flexible spatula, mix until moistened and
combined.
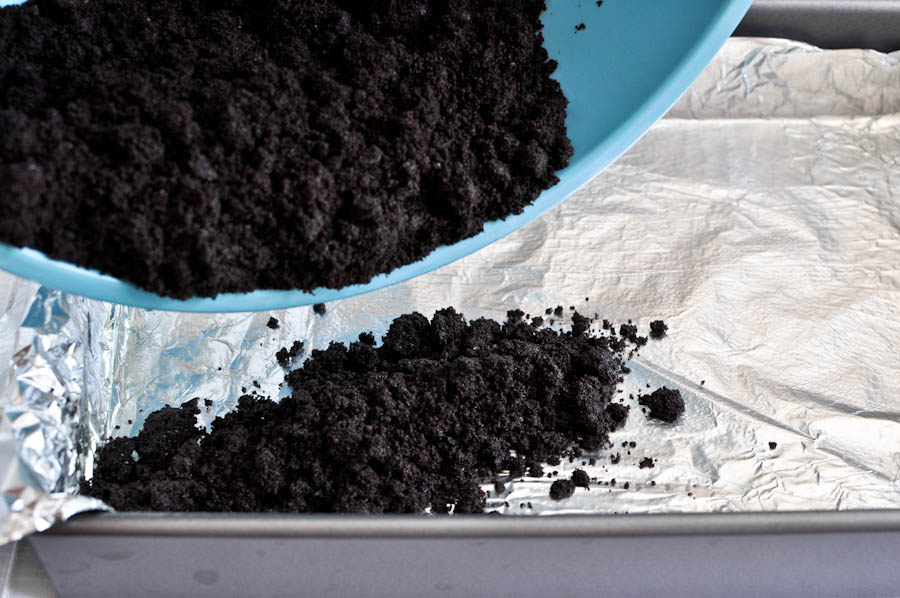
Pour the crumbs into the foil-lined pan.
Distribute the crumbs evenly and press down with your fingers to
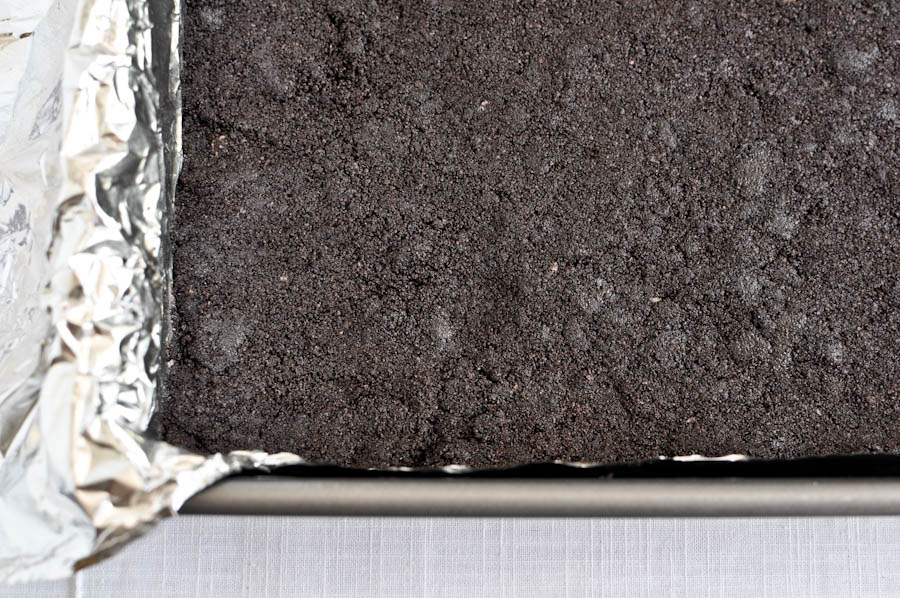
flatten the crust. Place the pan in the oven and bake the crust for 10
minutes. After 10 minutes, remove the pan and let it cool. Leave the
oven on because the cheesecake is going right back in.

While the crust is baking, start on your filling. First, break the
remaining Oreos in half and add to the food processor. Pulse a few times
just to break them apart; you still want some big cookie chunks. I
pulsed my processor about five or six times.
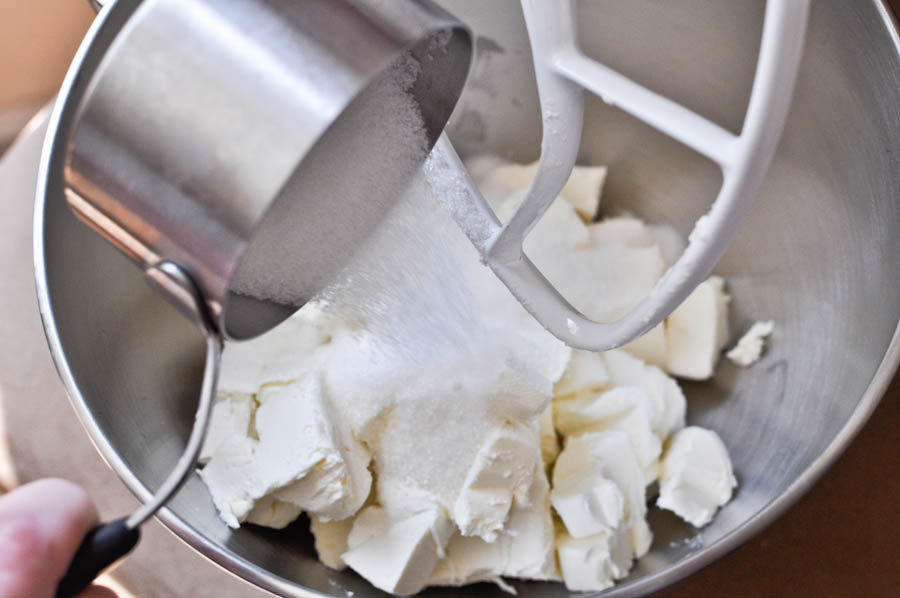
In the bowl of your electric mixer, add your softened cream cheese
and sugar. Beat until the mixture is smooth and fluffy, about two
minutes. Make sure to scrape down the sides and beat until it is
uniformly thick.
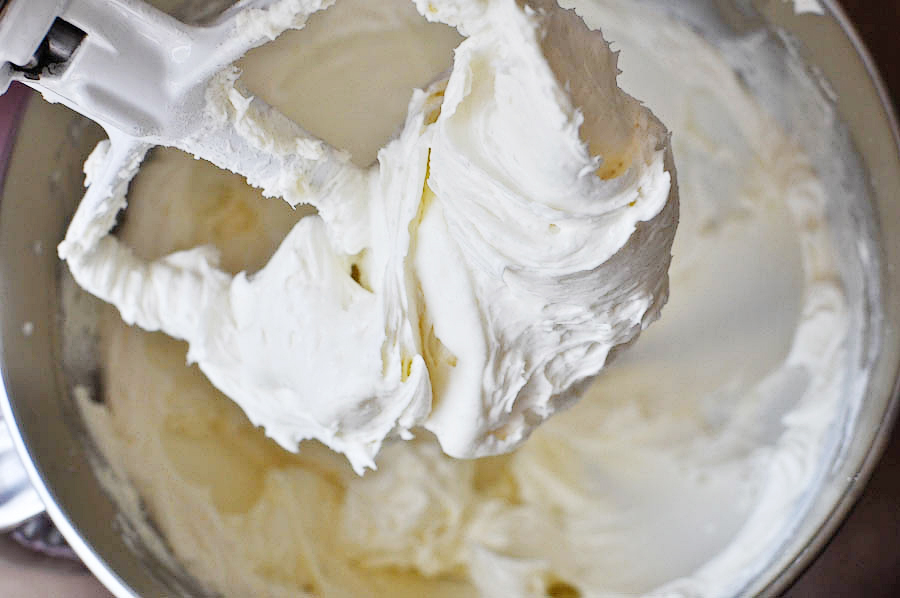
It should look like this. Great. Now I’m hungry!
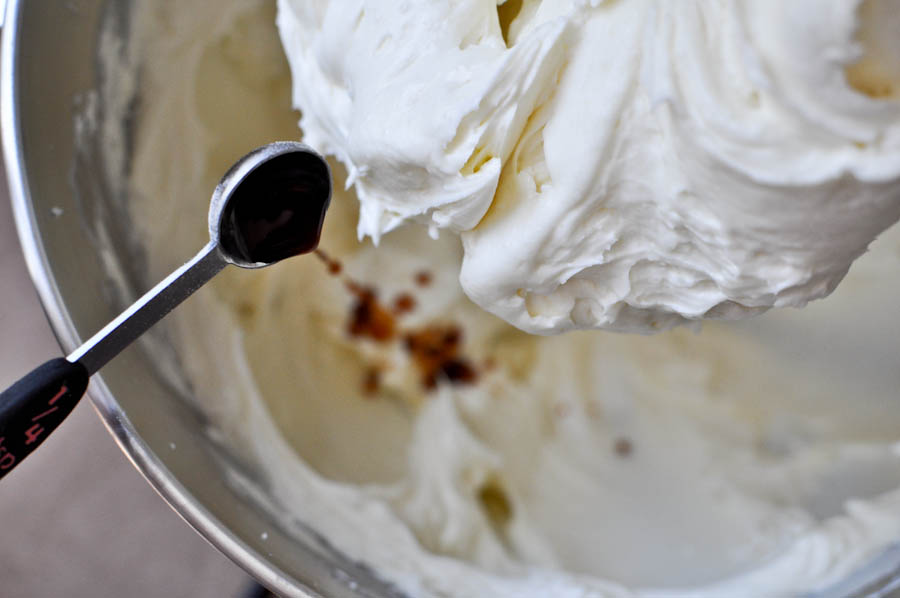
Beat in your sour cream, salt and vanilla extract, again making sure to scrape down the sides of the bowl.
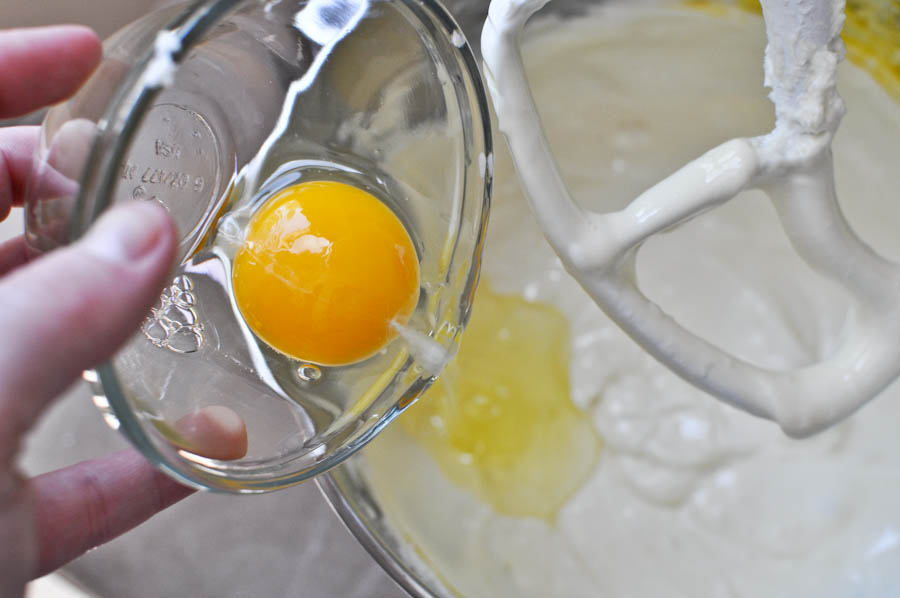
Add your eggs one at a time, beating after each addition. Make sure
the eggs are completely mixed in and scrape down the sides of the bowl
one last time to make sure everything is combined.
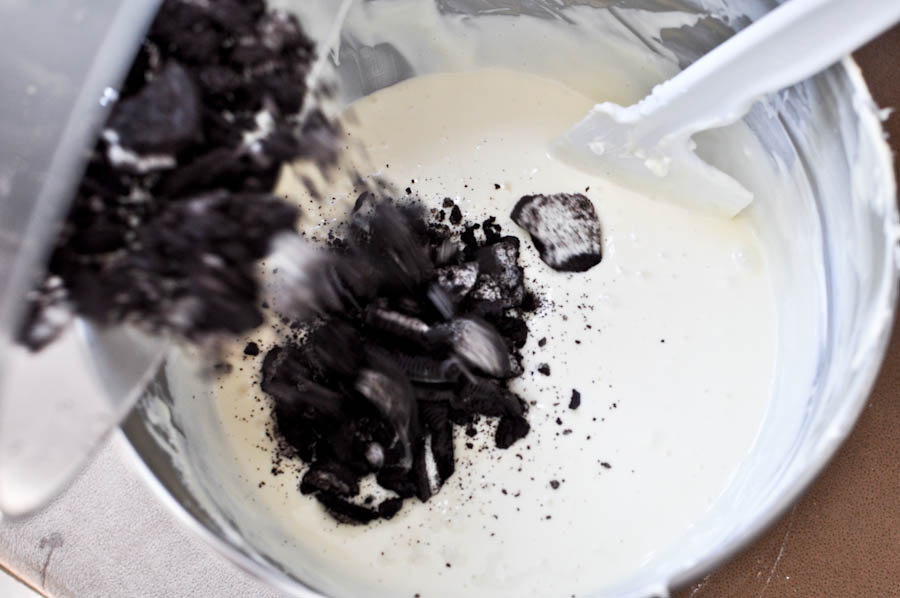
Add your chopped Oreos into the filling.
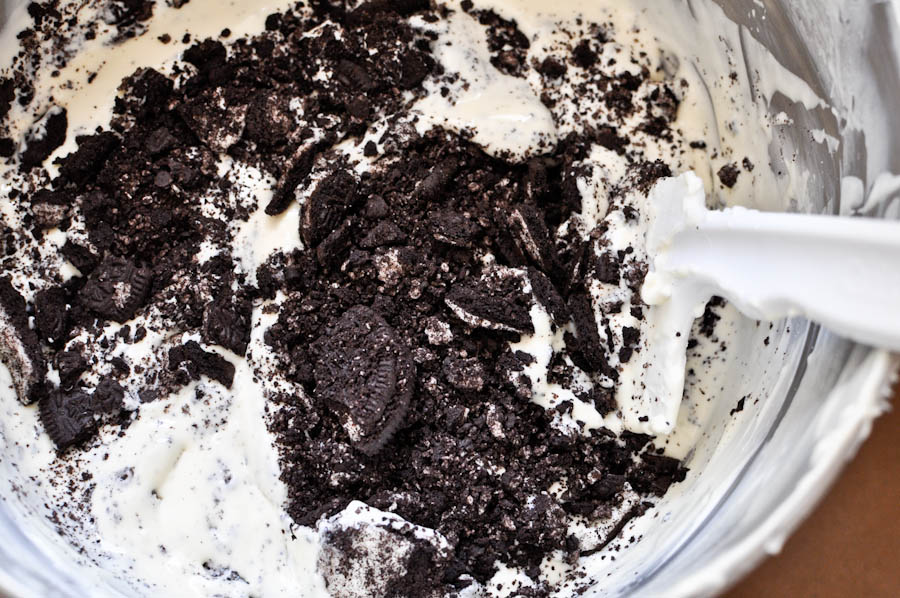
Fold the Oreos in with your spatula and try not to drool. I was unsuccessful.
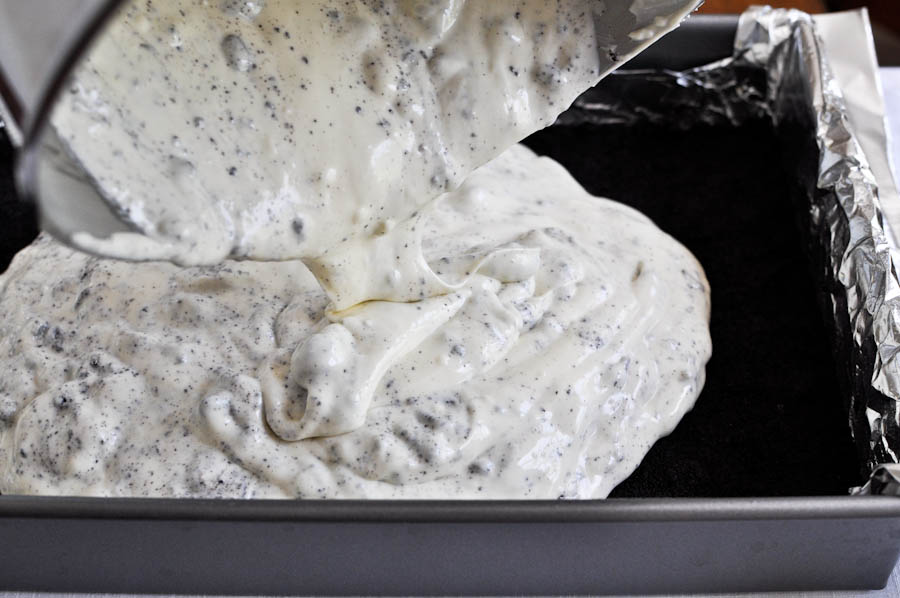
Pour the mixture on top of the crust and spread evenly with a spatula to distribute the filling.
Bake for 40 minutes, or until the outside is set but the middle is
still a bit jiggly. Remove the pan and set aside on a cooling rack to
cool completely. Once cool, cover it with foil and place it in the
fridge to chill for a few hours, or overnight.
Wait … and wait … and wait … and dream about cookies and cream cheesecake.
One the bars have chilled, lift the foil overhang out of the pan and
place it on a cutting board. Using a large knife, cut the cheesecake
into uniform squares, rinsing the knife with warm water between each
slice.
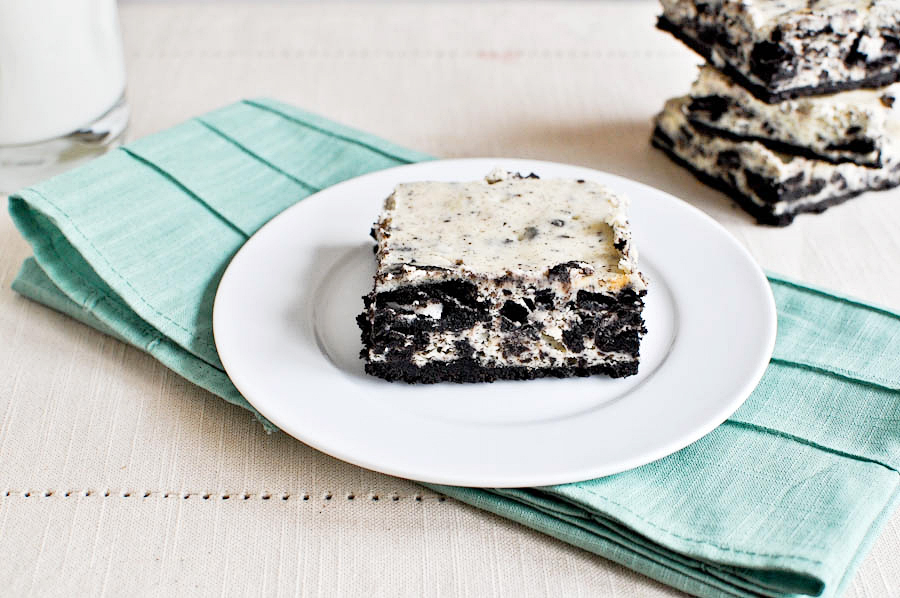
Serve yourself a big slice. Or two.
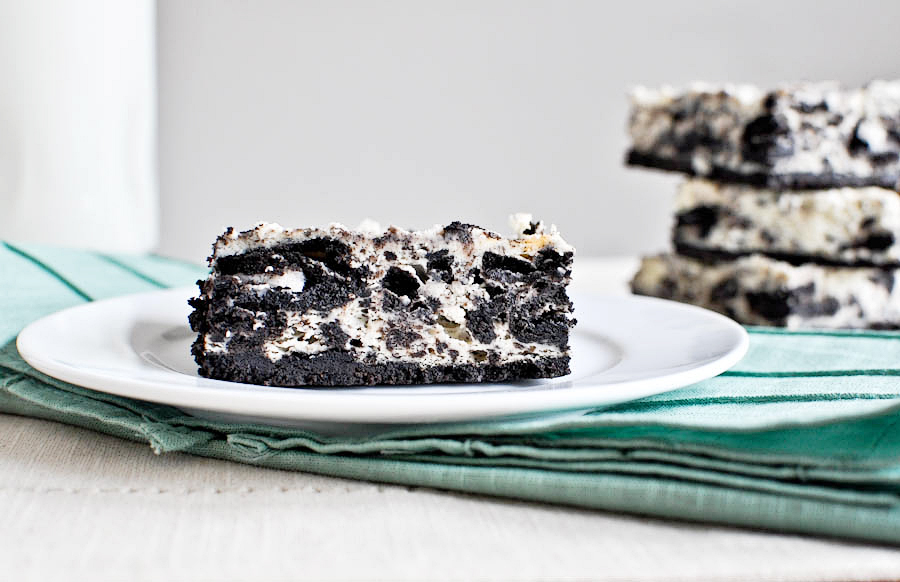
And enjoy!
These bars surpassed my expectations and tasted like heaven on a
plate. I am already plotting my second go-round and can’t wait to share
them at a few summer barbecues. Thanks so much for the recipe, Lori! Be sure to check out Lori’s website Recipe Girl. It’s loaded with hundreds of delicious recipes. Her site is one of my go-to sites for easy dinner ideas!
No comments:
Post a Comment